Battle Report - Purge the Xenos

Yesterday morning, Josh and I played the new campaign mission in Dicehead’s Battle for Agora. A Chaplain has fallen to Chaos and allowed the forces of disorder to maintain their foothold in the system. This mission represents a purge-and-burn attack, as the Imperials struggle to recover their planetary defense systems.
Chaplain Nefret calmed his nerves with prayer, hoping it was having the same effect on the Sternguard Veterans that rode to war at his side. Tyranid Spore Mines detonated harmlessly against his tank as it advanced, showering the hull with acidic bile.
For the past few weeks they had cleansed one gun nest after another of the taint of Chaos, claiming relics from their enemies to further their conquest. It had come as a shock to the Chapter’s leaders when scans showed a sizeable Tyranid nest constructed in this defensive position.
It had been thought that the Tyranids were annihilated in the Battle of the Red Wastes, but that was now seen to be untrue. Even more worrisome, their occupation was too outward, too aggressive and visible to be the leftovers from before. The Tyranids had received a signal.
There was another Hive Fleet inbound.
Nefret roared in anger, turning some heads in the crew compartment. “I will not abide the presence of these xenos abominations!” he cried out. “They will be scoured from this world, and we will continue our campaign against the Ruinous Powers.”
“Strength of will! Courage of will!” The Sternguard echoed him solemnly.
“For the Emperor! To victory!”

Scouts have sent back the location of the defense gun.
Purge the Xenos
The Mission
This mission is Purge the Alien with Hammer & Anvil deployment, although it uses a few additional rules.
The Tyranids are the defenders and the Space Marines are the attackers in this scenario. The attackers roll two dice to determine their Warlord Trait since they are fighting for their home turf. The defenders receive a Gun Emplacement armed with a Battle Cannon, that is also considered a Comms Relay. This is to represent the defensive position they have successfully occupied.
Normal Victory Points are used, but the gun is worth SIX POINTS if it is held by either side when the game ends. As a last ditch effort the attackers can destroy the weapon, but if too many are destroyed it will have negative effects for future rounds in the campaign. The weapon works exactly like a normal Gun Emplacement, but it also has a 3+ Invulnerable Save to represent advanced shielding.
I’m normally not a big fan of Fortifications for Tyranids, but I decided to use the Aegis Line for this game, figuring it represented Imperial defenses that had been re-tasked to defend the hive it once fought to keep out. This made for a fairly intimidating bulwark from which my opponent was tasked to oust me.
Army Lists
Relictors - Task Force Nefret
Space Marines - 2,000
Chapter Tactics: Imperial Fists
HQ
Chaplain
ELITES
Sternguard Veteran Squad: four additional Veterans, 2 Heavy Flamers, Rhino transport
Sternguard Veteran Squad: four additional Veterans, 2 Heavy Flamers, Rhino transport
TROOPS
Tactical Squad: five additional Space Marines, Multi-Melta, Meltagun, Sergeant has Combi-Melta, Rhino transport
Tactical Squad: five additional Space Marines, Multi-Melta, Meltagun, Sergeant has Combi-Melta, Rhino transport
Tactical Squad: Flamer, Razorback transport with Lascannon and Twin Plasma Guns
Tactical Squad: Flamer, Razorback transport with Lascannon and Twin Plasma Guns
FAST ATTACK
Stormtalon Gunship: Skyhammer Missile Launcher, Twin Assault Cannons
Stormtalon Gunship: Skyhammer Missile Launcher, Twin Assault Cannons
HEAVY SUPPORT
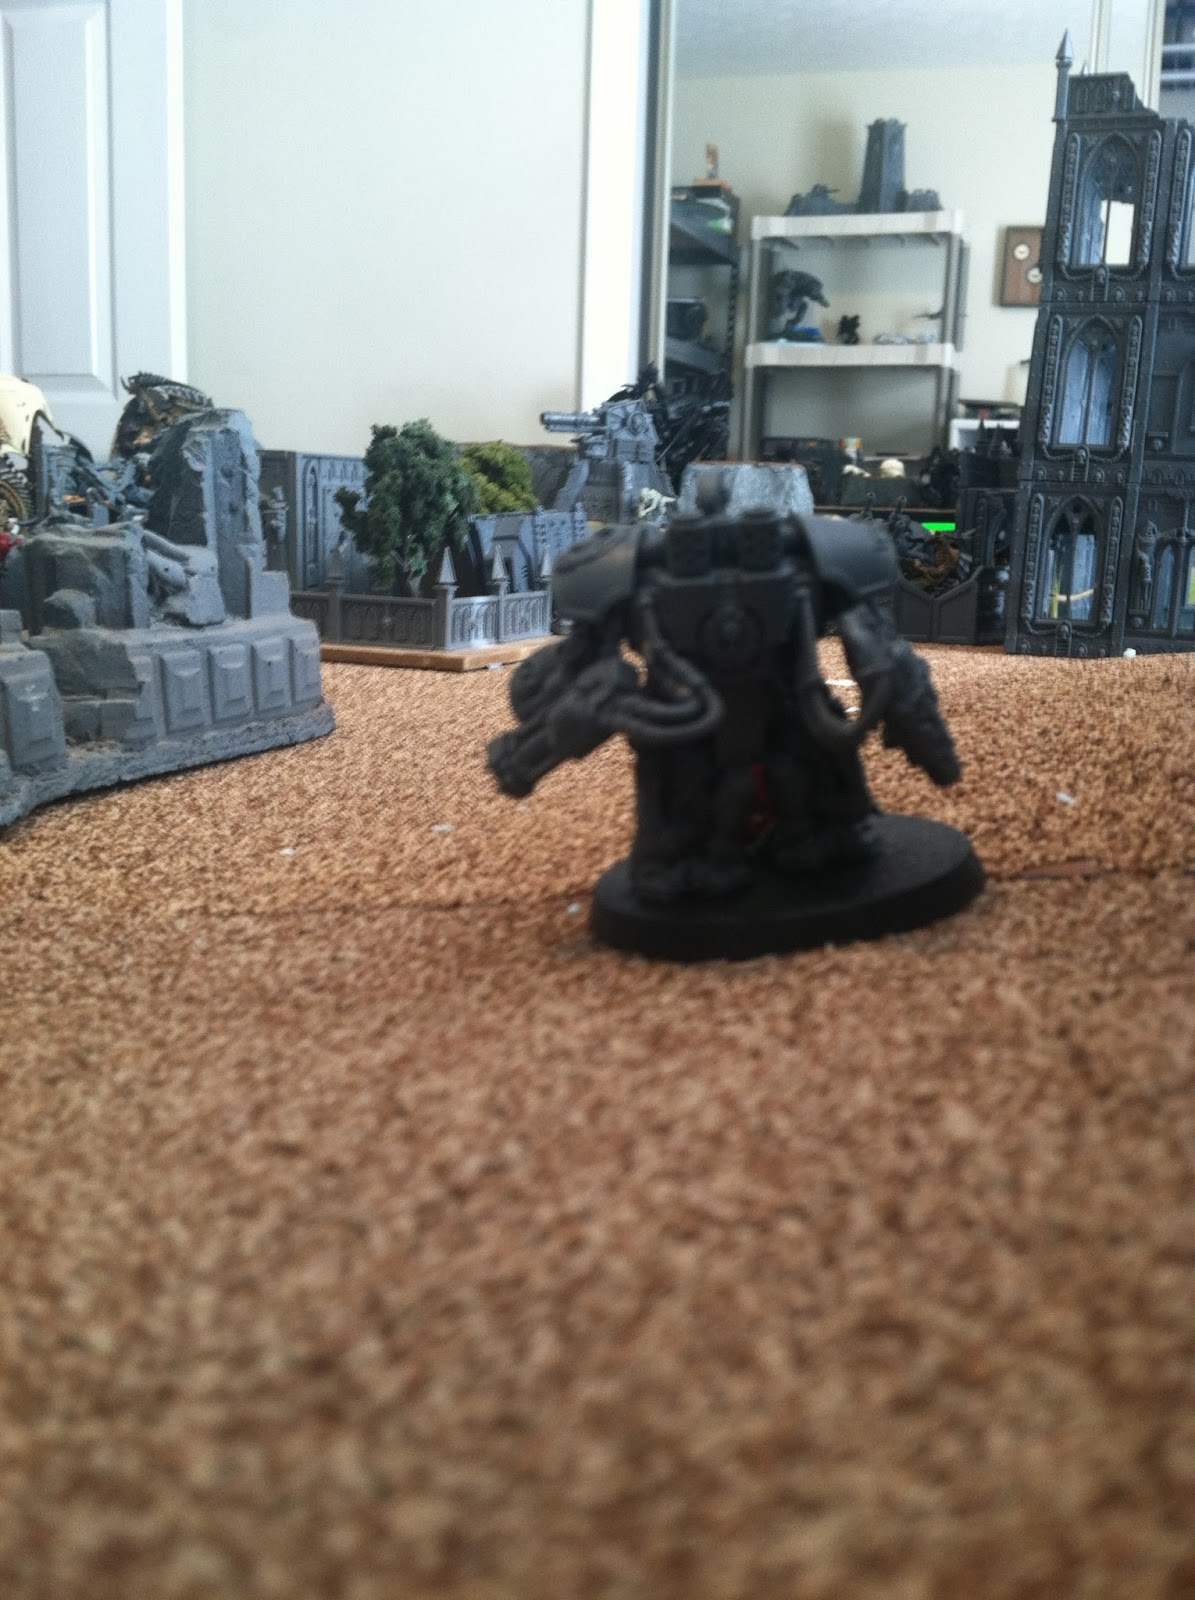
Centurion Devastator Squad: Twin Lascannons, Missile Launchers
Stalker
Whirlwind
Hive Fleet Nug - Nest Protectorate
Tyranids - 2,000
FORTIFICATION
Aegis Defense Line: Quad Gun
HQ
Hive Tyrant: Heavy Venom Cannon, Lash Whip & Bonesword, Thorax Swarm with Electroshock Grubs, Adrenal Glands; Warp Blast, Catalyst
Tyrant Guard: one additional Tyrant Guard, Adrenal Glands
ELITES
Hive Guard Brood: two additional Hive Guard, Impaler Cannons
Zoanthrope Brood: two additional Zoanthropes; Warp Blast, Dominion
Venomthrope Brood: one additional Venomthrope
TROOPS
Tervigon: Electroshock Grubs
Termagant Brood: twenty additional Termagants, Fleshborers
Hormagaunt Brood: ten additional Hormagaunts
Hormagaunt Brood: ten additional Hormagaunts
HEAVY SUPPORT
Carnifex Brood: one additional Carnifex, both have Scything Talons and Heavy Venom Cannons
Exocrine
Mawloc
Pre-game

The sun begins to rise over a ruined Imperial
settlement on Agora.
My opponent got to roll two dice for his Warlord Trait and choose the one he wanted for this mission; he rolled twice and chose to be able to give himself Furious Charge in one of his Assault Phases. I rolled Digestive Denial again, and eroded the only building in his deployment zone. It would be Night Fight for the first turn.
Once sides were determined, I placed the Battle Cannon in an elevated position for good fields of fire. I deployed my Aegis along the front of my deployment zone, with the Quad Gun defending the left flank. We then rolled to see who would deploy first, and the Tyranids won the roll.

Tyranid deployment zone.
My Exocrine went into the building on the left, with twenty Hormagaunts for company. The Venomthropes deployed under the front awning to provide overhead cover from his Whirlwind. The Hive Tyrant manned the Quad Gun, accompanied by his Tyrant Guard, and the Hive Guard deployed in the center, along the front line. The Zoanthropes deployed in the woods on the right flank, with the other Hormagaunts and the big Termagant brood in support. The Carnifexes and the Tervigon deployed around the Gun Emplacement, and the Mawloc went into Reserve.

The majority of the Space Marine armor deployed on his left flank, planning to use the building there as cover as they moved. The Whirlwind and the Centurions deployed to defend the central ruins, and the Stormtalons waited in Reserve.
Josh rolled to Seize the Initiative, rolling a four. With a silent impulse from the Hive Mind, the Tyranids seethed forward to defend their new brood nest.
Turn One
With Night Fight in effect, the Tyranids were mostly just maneuvering. Sensing a weak flank, the Hormagaunts on my left lunged forward, moving a total of 14” after their Run move as they sought to close with the Centurions. The rest of the Tyranids shuffled to better positions and opened fire. However, the shroud of early morning protected the Space Marines from any damage.
The Marines advanced quickly up the table; the Centurions stepped forward in their ruin, and the wall of armor advanced to midfield. Along with this surge of armor came the Stalker, since it would be Snap Firing against all targets in my army anyway. The Chaplain and his Sternguard disembarked into the ruins on the Tyranids’ right flank, hoping to score some wounds against the Zoanthropes. The Razorbacks took shots at the psychic serpents with their Lascannons, but the Warp Field turned the devastating energies aside. Finally the Sternguard found a chink in the lead monster’s shield, and it collapsed to the ground. The Whirlwind picked off a couple of Hormagaunts as they rushed headlong at the Centurions. Finally the Centurions fired on the Quad Gun, inflicting four wounds. The Aegis Wall proved effective here, and the weapon only suffered on failed save.
Turn Two would see ranges closing, as the Space Marines pushed for all their worth to break the Tyranid position.
Gun Emplacement: Tyranid Control
Additional Space Marine Victory Points: None
Additional Tyranid Victory Points: None
Turn One Score: 0-6, Tyranids
Turn Two
The Mawloc arrived from Reserve and attempted to erupt beneath the Centurions. Instead he scattered away, coming out of the ground beneath the Stalker and the nearest Rhino. His Terror from the Deep rule inflicted no damage, and his Mishap result returned him to Ongoing Reserves.
Most of the Tyranids held their occupied positions, but the Hormagaunts on the left raged directly toward the Centurions. I was under no illusion at their ill-fated destiny, but I needed to tie that source of firepower up, to free my Hive Tyrant to advance when necessary.
The Hive Guard fired on the central Rhino, stripping two Hull Points and inflicting a Crew Stunned result. The Hive Tyrant then fired on the same Rhino with the Quad Gun and with his Heavy Venom Cannon. While the Quad Gun failed to do anything at all to the Rhino, the Heavy Venom Cannon scattered to cover both the Stalker and the Rhino. He successfully stripped the Rhino’s last Hull Point, and the Stalker was blown apart in a storm of shrapnel. The Space Marines in the Rhino disembarked, and then failed their Pinning Test. The Exocrine launched a barrage of bio-plasma at the Centurions, but their cover absorbed all of the damage.
Finally the Tervigon opened fire with the Battle Cannon, scoring a direct hit on the clustered Sternguard and inflicting eight wounds. However, the Chaplain had picked his cover well. Only two Space Marines died in the explosion.
The Hormagaunts leapt forward into assault with the Centurions. Three of them were pummeled to death as they jumped into the terrain, and their hacking claws found no mark through which to score a telling hit. Despite their defeat, the Hive Tyrant crushed their will beneath his own, forcing them to remain engaged.
The Chaplain and his men returned to their Rhino, which carried them forward to the Tyranid lines. They were joined by the remaining Tactical Rhino after it debarked its complement of Troops. These Tactical Marines took up positions near the walled ruin next to the Tyranid-occupied Aegis Line.
The two Stormtalons also came screaming up the table this turn. The first was torn apart in a hail of fire from the Quad Gun, crashing into the Pinned Tactical Squad. They took no damage from the attack as the second Stormtalon raced up to the Tyranid positions and opened fire.
Both Razorbacks fired on the Zoanthropes to no effect, but the Stormtalon was right on target. The remaining two Synapse Creatures blew apart under the intense weight of fire, awarding the Space Marines their first Victory Point.
The Tactical Squad that debarked to the center of the table had limited visibility to the Tyranid line as they encroached on the central building. They fired off a handful of rounds at the Hive Guard to no effect. The Whirlwind killed four of the Hormagaunts still laying in wait behind the Aegis, but they were still within the Hive Tyrant’s Synapse Range.
After pile-ins, the Hormagaunts were outside Synapse. They scratched and clawed and bit at the Centurions’ battle plate, but they still could not find purchase. Two more of their number were slain and they fell back from the combat, easily outpacing the bulky warsuits. The Centurions consolidated away to clear their line of fire and put more distance between the snapping Tyranids.
Gun Emplacement: Tyranid Control
Additional Space Marine Victory Points: 1 Unit Slain, No Secondary Objectives
Additional Tyranid Victory Points: 3 Units Slain, First Blood
Turn Two Score: 1-10, Tyranids
Turn Three
The Mawloc arrived from Ongoing Reserves, with the intention of hitting the Centurions again. Again he scattered off-target, hitting instead one Centurion and the Whirlwind. Again, despite two blast markers at S6, he failed to do any damage. He rolled for Mishap again, and returned to Ongoing Reserve.
The Tyrant cast Catalyst on himself and on the Hormagaunts in No Man’s Land before vaulting the Aegis Line and moving to attack the nearest Tactical Squad. The Exocrine stepped clear of cover to gain range on the Centurions. The second squad of Hormagaunts poured over their defenses as well, moving to engage with the Hive Tyrant.
The Hive Guard Stunned one of the Razorbacks and knocked out two Hull Points, and the Carnifexes damaged the Chaplain’s Rhino. The Battle Cannon fired again, killing two Space Marines from the Tactical Squad furthest from the fight. The Exocrine finally found a mark through the ruins, and one of the Centurions was felled. His squad mates quickly withdrew, stopping just behind the Whirlwind.
The Hive Tyrant needed 5” to make the charge against the Tactical Squad, with rerolls for Adrenal Glands. Despite this he had failed to make it to combat, rolling a one and a two on the two dice he chose to reroll! The Hormagaunts had no such issues, and they sprang forward into the Tactical Squad. Each side lost a couple of casualties and they settled in for a grueling slugfest.
The remaining Stormtalon swung around and dove on the Exocrine as it emerged from cover. The Centurions quickly joined him, Regrouping and moving out for a clear shot. Since he was still within range of the Venomthropes, firing through the ruins simply could not be relied upon to have any effect.
The Chaplain and his Sternguard moved to get Rapid Fire range on the Carnifex brood, the last assault element standing between them and the objective. Here they encountered misfortune, as the Rhino Immobilized itself on difficult terrain. They would still have range to fire, but it would only be one shot from each Bolter. The rear Tactical Squad also advanced, moving into position to fight the nearest squad of Hormagaunts. The empty Rhino from the lead Tactical Squad quickly moved to block the Tyrant’s route of advance against the squad itself.
The Chaplain’s misfortune continued when only two rounds connected with the Carnifex, and only one of these inflicted a wound. The Carnifex’s hide turned this single hit aside. The Stormtalon was able to punch one hole in the Exocrine, and the Centurions followed up with three more wounds. One of these was blocked by the Venomthropes’ toxic cloud. The Whirlwind scored a direct hit on the clustered Hormagaunts, blowing apart nine of them in spite of their Catalyst buff. The Tactical Squad then assaulted the remnants; they could not draw line of sight to more than two of them, and Josh figured it was better to charge than to be charged!
Both melees further bled each side, but the combatants doggedly carried on.
Gun Emplacement: Tyranid Control
Additional Space Marine Victory Points: 1 Unit Slain, Linebreaker
Additional Tyranid Victory Points: 3 Units Slain, First Blood
Turn Three Score: 2-10, Tyranids
Turn Four
The Hive Tyrant cast Catalyst on himself and the Carnifexes, and the Venomthropes stepped out to take control of the Quad Gun. The Hive Tyrant moved to provide Synapse coverage to the advance Hormagaunts, and to be in position for any potential assaults. The Exocrine advanced further, drawing down against the two surviving Centurions.
The Carnifexes opened fire on one of the Razorbacks and inflicted a Crew Shaken result, knocking down its considerable firepower. The Hive Guard leveled their weapons on the Sternguard Rhino and it exploded, killing several Marines and Hormagaunts in the nearby combat. Furthermore it Stunned the Sternguard for the coming turn.
The Exocrine killed the second Centurion and damaged the sergeant’s warsuit in the blast. The Quad Gun removed a Hull Point from the surviving Stormtalon and destroyed the Assault Cannons in the process. Fire from the Battle Cannon and from the large Termagant Brood went into the Chaplain and his Sternguard, killing several and leaving the Chaplain and three Veterans to take a charge from the Termagants.
The Hive Tyrant failed to make his charge again, aiming for the full-strength Sternguard in their crater. Chaplain Nefret and his Veterans quickly slaughtered the Termagants, although only one Sternguard survived the brutal fight. The remaining Gaunts were out of Synapse Range and attempted to fall back; Nefret was in no mood to allow their escape, and they were all slaughtered. In the center, things went worse for the Tactical Marines; only three of them were left to carry on, surrounded by a sizeable force of stabbing blades.
The Space Marines now realized they were not going to have time to push through the remaining Tyranids; the gun was simply too far away. The Stormtalon peeled away and launched an attack run on the gun, as the Marines fought desperately to stem the tide. The Chaplain rushed to join the intact Sternguard squad, while the lone survivor from his first squad charged to engage the Hormagaunts nearby.
The fire from the Skyhammer Launcher was deflected harmlessly from the gun’s shields. The Centurion Sergeant fired one last precision burst, and the Exocrine was felled. The Razorbacks added their fire to the Gun Emplacement, but again the shields held firm.
The lone Sternguard Veteran leapt into the ruins to support his embattled brothers, but one of the Hormagaunts ruthlessly hacked him down. The other Marines held firm and won the combat, but the Hormagaunts remained under the Hive Tyrant’s control. The rearmost Tactical Squad was finally able to expel the Hormagaunts from the ruins, emerging from the combat with only four survivors.
Gun Emplacement: Tyranid Control
Additional Space Marine Victory Points: 2 Units Slain, Linebreaker
Additional Tyranid Victory Points: 5 Units Slain, First Blood
Turn Four Score: 3-12, Tyranids
The Centurion Sergeant growled in vindication as the Exocrine’s head exploded under his barrage. A garbled message came through his earpiece as the roar of his weapons was fading. He hoped by the Primarch that he’d misheard the order.
“Engaging xenos, chaplain, auditory interference. Repeat your last.”
“We’re out of time, the Scouts are reporting Tyranid response inbound. Destroy the emplacement, for the Emperor!”
Not for the first time, and certainly not for the last, the Centurion cursed the blight that was the Tyranid race.
Turn Five
The Mawloc attempted to emerge beneath the Chaplain and his squad; a significant scatter placed him in the woods behind the Aegis Line.
The Hive Tyrant pushed on through the ruins, screeching a challenge to the Chaplain and his Sternguard. As he went the Carnifexes finally found the fuel core in the nearest Razorback. A moment later it disappeared in a fireball, killing two of the Marines inside. The Venomthropes brought the Quad Gun around and knocked the Stormtalon out of the sky, sending it crashing into the slope before the Fortification.
The Hive Tyrant closed the distance with the Sternguard, but the Sergeant leapt forward bravely to intercept the rampaging beast. The Tyrant Guard took a wound before ripping two of the Veterans apart with their Rending Claws. As the Hive Tyrant bisected the Sergeant with his Bonesword, the Space Marine spent the last of his life force to bury a Melta Bomb in his carapace, tearing a massive wound into the rampaging leader-beast.
The Hormagaunts finished their grisly work in the center, laying the last of the Tactical Squad low. They consolidated deeper into cover, looking for their next target in the sea of melee.
The Space Marines’ momentum was flagging drastically. With the gun firmly outside their ability to capture, the Space Marines launched more heavy fire into the emplacement. The surviving Razorback fired, but to no avail. The Centurion Sergeant lowered his weapons on the target and scored two telling hits. One tore through the shields and heavily damaged the emplacement, but the other was turned aside.
Realizing the gun was out of reach until turn six, the Space Marines turned to dealing as much damage as possible to their alien opponents. The small Tactical Squads burned one of the Hormagaunt squads down to one survivor, and the Rhinos combined the fire of their chattering Storm Bolters to fell the last of them. The Whirlwind dropped his shell in the central ruin, killing all but one of the Hormagaunts and successfully ending the threat they had posed all game.
In combat, the Chaplain was challenged by the Hive Tyrant. Leaping forward with Crozius in hand, he smashed his weapon with all his might against the great beast. Despite his Herculean efforts, his weapon could not penetrate the hardened exoskeleton. In the mean time, his Rosarius stopped two powerful blows from the crackling Bonesword, one of which would have caused Instant Death. The Tyrant Guard crushed two more Sternguard in their vicelike grips, taking no damage in return.
At the end of the turn, the dice roll came up as a 2. The Relictors had no more time, as Tyranid reinforcements flooded into the defensive positions. Chaplain Nefret broke clear of the Hive Tyrant with a flash grenade, cursing as he reluctantly ordered all surviving elements to pull back for extraction. Favoring his terrible wound from the Space Marine Sergeant, the Hive Tyrant pulled back all elements of the swarm to lick their wounds and prepare for a potential second assault.
Behind the Battle Cannon, the Tervigon gathered her spawn to her and hissed in triumph. The brood nest still belonged to the Tyranids.
Gun Emplacement: Tyranid Control
Additional Space Marine Victory Points: 4 Units Slain, No Secondary Objectives
Additional Tyranid Victory Points: 8 Units Slain, First Blood
Turn Four Score: 4-15, Tyranid Victory
Post-game Thoughts
This mission felt very difficult from the Space Marine side of things; I’ve rarely seen a power armored foe advance to engage my Tyranids in CQB, with the obvious exceptions of Space Wolves and World Eaters. Despite the difficulty Josh put up a determined attempt to break through. In the end, the Tyranid lines were still held, but only just.
My Synapse still feels very frail, but Instinctive Behavior also seems more manageable than I originally realized. Fearless models ignore most of the really bad results, and units that have Gone to Ground are okay as well. While it is still a bad idea to let a unit become susceptible to Instinctive Behavior, it doesn’t seem nearly as bad as it did in the beginning.
I’m also trying to decide if I like the Mawloc. I’m confident that he could have had a dramatic effect on the game if ANY of his Deep Strike attempts had landed where I intended them to, but as a result of these scatters he literally caused no damage whatsoever, and was only on the table for the very last turn. I want to play him a few more times, however, as the points cost is negligible and the payoff can be absolutely huge.
This was also an experiment with a stationary firepower Tyranid build, and I wasn’t surprised when the shooting had little finishing power. With that said, however, Tyranid shooting still does what it needs to do; it keeps your opponent’s vehicles out of commission while the close combat units move in for the kill.
The Hormagaunts have been absolutely outstanding in my last two games, earning back twice their points on each occasion. Look for them to receive a paint job in one of my Hobby Articles in the near future.
+Exorcists+Shoulder+Pad.jpg)

Comments
Post a Comment